Run Jupyter Notebook on GPU Container with a Few Clicks
Run Jupyter Notebook on GPU Container with a Few Clicks
Table of Contents
1. Introduction to the GPU Container
Overview of GPU Container
GPU Container is a preconfigured, enterprise-grade solution designed to accelerate machine learning and data science workflows. GPU Container enables users to deploy GPU-accelerated containers that seamlessly integrate with Jupyter Notebook, providing a robust environment for developing and training machine learning models. By leveraging NVIDIA GPUs and Containerization technology, this feature delivers high-performance computing with both flexibility and scalability.
Key Benefits of GPU Container Platform
- High-Performance Computing: Utilize 1 to 8 NVIDIA GPUs to drastically reduce training times for complex models.
- Environment Consistency: Preconfigured containers ensure reproducible setups across diverse projects, eliminating configuration conflicts.
- Interactive Workflow: Jupyter Notebook provides a sophisticated interface for coding, visualization, and documentation.
- Resource Optimization: Allocate GPU resources precisely, enhancing cost efficiency for scalable deployments.
- Framework Versatility: Support built-in images and custom images for specialized needs.
This guide introduces GPU Container and provides a comprehensive, step-by-step guide for setting up and using it to develop machine learning models with Jupyter Notebook.
2. Spinning up your GPU Container
Prerequisites:
AI Factory account with at least $5 in your account so you can experiment GPU Container without interuption in 1 or 2 hours
GPU Container is now available on FPT AI Factory, follow the steps below to spin up your GPU Container on FPT AI Factory .
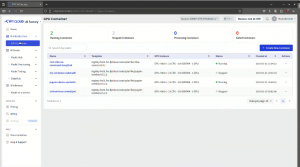
Visit ai.fptcloud.com and switch to GPU Container dashboard, you can see details about your running, paused and stopped containers, all in one place.
Step 1: Select a GPU Flavor
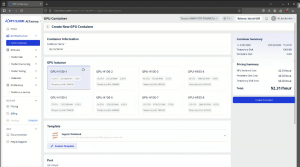
GPU Container feature allows you to choose a flavor based on your computational needs. You can select from 1 to 8 H100 NVIDIA GPUs to match your workload requirements. For example, choose 1 GPU for lightweight tasks or 8 GPUs for large-scale model training.
In the AI Factory interface, navigate to the Create New Container section. Select the desired GPU configuration (1–8 GPUs) from the configuration panel.
Step 2: Choose a Container Image
The platform offers multiple built-in images optimized for machine learning, as well as support for custom images. You can choose from preconfigured images provided within the platform. To select a built-in image, navigate to Template panel.
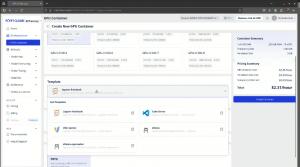
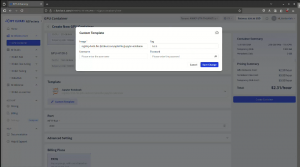
Alternatively, you can specify a custom Docker image if your project requires specific libraries or configurations by selecting Custom Template button and filling in URL to your custom image.
Step 3: Configure Environment Variables and Startup Commands
Customize the container’s behavior by setting environment variables and startup commands, if necessary:
- Environment Variables: Specify variables such as USERNAME and PASSWORD for Jupyter access or framework-specific settings.
- Startup Command: Override the default command if needed (e.g., jupyter notebook --ip=0.0.0.0 --port=8888 for Jupyter).
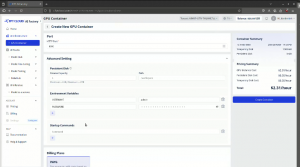
For this guide, we use the default settings for the built-in Jupyter Notebook image, which automatically starts Jupyter Notebook.
Step 4: Launch and Wait for the Container
Ensuring that all configuration and pricing for your GPU Container instance meets your requirements. If everything looks good, select Create Container to spin up your container.
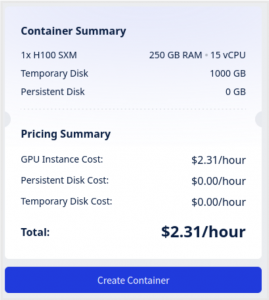
Wait for the container to be ready. The platform will provision the container, allocate the selected GPUs, and start the Jupyter Notebook server. You can track your container’s status on the GPU Container dashboard.
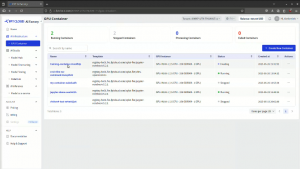
Alternatively, you can click on the name of your container on the dashboard to get more information about your set up.
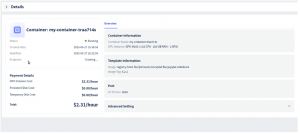
Once ready, the platform provides a direct link to access the Jupyter interface.
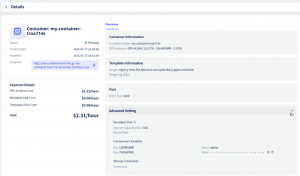
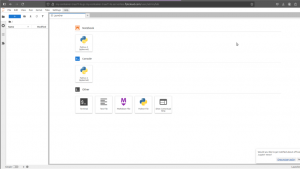
Click on the provided endpoint to gain access to Jupyter Notebook.
3. Training YOLOv11 with Jupyter Notebook in the GPU Container
This section demonstrates how to upload an existing Jupyter Notebook to the GPU Container and train a YOLOv11 model for brain tumor detection.
We have prepared a notebook to demonstrate the Machine Learning/Deep Learning capability of GPU Container. Please verify the current setup.
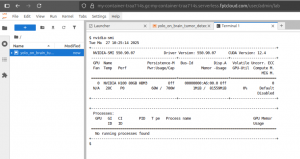
1 H100 NVIDIA GPU is currently available in the container.
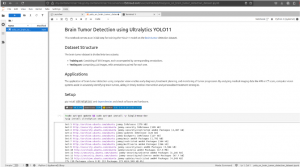
The Jupyter Notebook interface is now accessible and ready for interaction. Proceed to install the necessary packages required for model training.
After completing package installation, continue by initiating the training process.
Execute the following code snippet to start model training:
from ultralytics import YOLO

# Load a model

model = YOLO("yolo11m.pt")  # load a pretrained model (recommended for training)

# Train the model

results = model.train(data="brain-tumor.yaml", epochs=10, imgsz=640, workers=0)
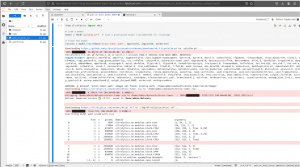
Model training is now in progress using the specified parameters.
After training completes, validate the model performance by running inference on a sample input.
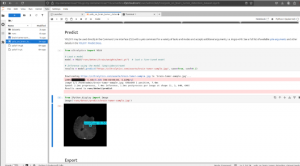
The model completed training successfully without error. Export the trained model for deployment or future inference tasks.
Execute the following command to export the model in ONNX format:
from ultralytics import YOLO

# Load a model

model = YOLO("runs/detect/train/weights/best.pt")  # load a custom trained model

# Export the model

model.export(format="onnx")
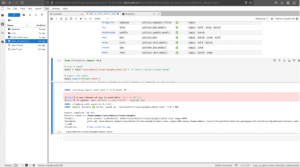
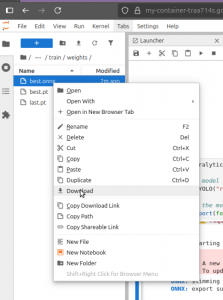
Once the model is exported, it can be downloaded to a local environment for further use.
4. Conclusion
Summary of the Workflow
This guide has demonstrated how to:
- Spin up a GPU Container on FPT AI Factory by selecting a GPU configuration, choosing an image, and configuring environment variables.
- Upload a Jupyter Notebook to the container and execute a machine learning model.
- Persist models and notebooks for ongoing use.
GPU Container delivers a high-performance, scalable solution for machine learning, combining GPU acceleration with the flexibility of Containerization and Jupyter Notebook for enterprise-grade applications.
Recommended Next Steps
Maximize your experience with GPU Container:
- Integrate with Visual Studio Code: Use the Remote - Containers extension for a unified development environment.
- Serve LLM with vLLM: Enhance your workflow by integrating vLLM, a high-performance library for running large language models efficiently.
- Explore Advanced Frameworks: Leverage the platform’s support for PyTorch and custom images to address complex machine learning challenges.
- Deploy your model: after training and evaluation, your model can serve in a production environment. You can deploy your model with our Model Hub service.
Leverage the GPU Container feature to accelerate your machine learning workflows in enterprise environments.


