- About Us
-
 Secure, unlimited storage to ensures efficiency as well as high and continuous data access demand.
 Virtual server integration for 3D Rendering, AI or ML
 Enhance application capacity and availability.
 Access to an all-inclusive stack for AI development, driven by NVIDIA’s powerful technology!
 FPT Web Application Firewall provides powerful protection for web applications
 Advanced virtual server with rapid scalability
 Backup and restore data instantly, securely and maintain data integrity.
Advanced virtual server with rapid scalability
Access to an all-inclusive stack for AI development, driven by NVIDIA’s powerful technology!
Enhance application capacity and availability.
Backup and restore data instantly, securely and maintain data integrity.
Recovery, ensuring quick operation for the business after all incidents and disasters.
Backup and restore data instantly, securely and maintain data integrity.
Advanced virtual server with rapid scalability
Access to an all-inclusive stack for AI development, driven by NVIDIA’s powerful technology!
Enhance application capacity and availability.
Backup and restore data instantly, securely and maintain data integrity.
Recovery, ensuring quick operation for the business after all incidents and disasters.
 Diverse throughput and capacity to meet various business workloads.
Secure, unlimited storage to ensures efficiency as well as high and continuous data access demand.
FPT Web Application Firewall provides powerful protection for web applications
Intelligent and Comprehensive Virtual Web Application Firewall - Security Collaboration between FPT Cloud and Penta Security.
The Next generation firewall security service
Easily store, manage, deploy, and secure Container images
Safe, secure, stable, high-performance Kubernetes platform
Provided as a service to deploy, monitor, backup, restore, and scale MongoDB databases on cloud.
Provided as a service to deploy, monitor, backup, restore, and scale Redis databases on cloud.
Provided as a service to deploy, monitor, backup, restore, and scale PostgreSQL databases on cloud. System Monitoring Solution anywhere, anytime, anyplatform
 Helps reduce operational costs by up to 40% compared to traditional BI solutions, while improving efficiency through optimized resource usage and infrastructure scaling.
 - Pricing
- Partner
- Event

1. Registering for FPT API Management Service
User Type: API Provider
To create a new API Provider account, you need to be allocated with service quota. Contact us for more detail.
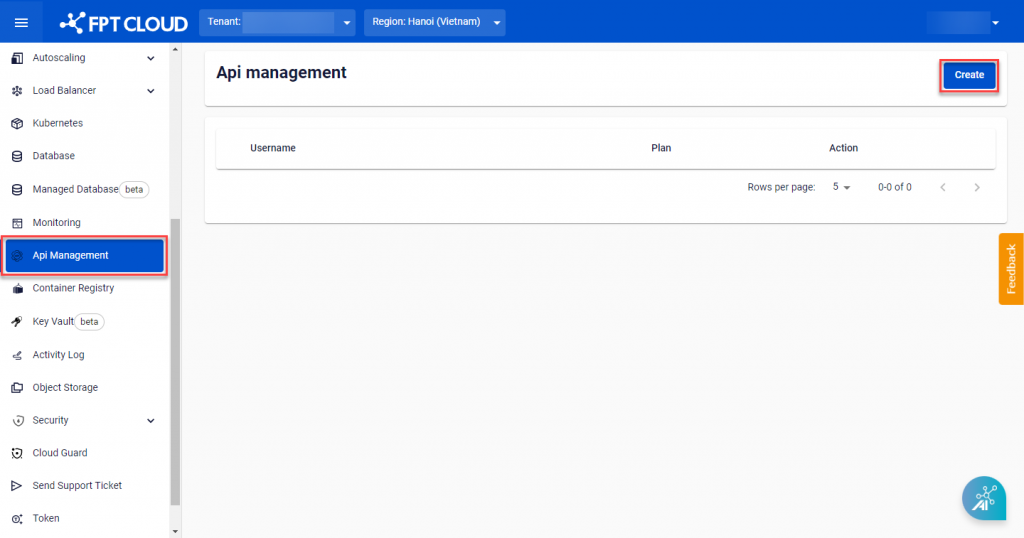
Step 1: From the FPT Cloud Portal menu, select API Management > Create.
Step 2: Enter an Username and select a Plan.
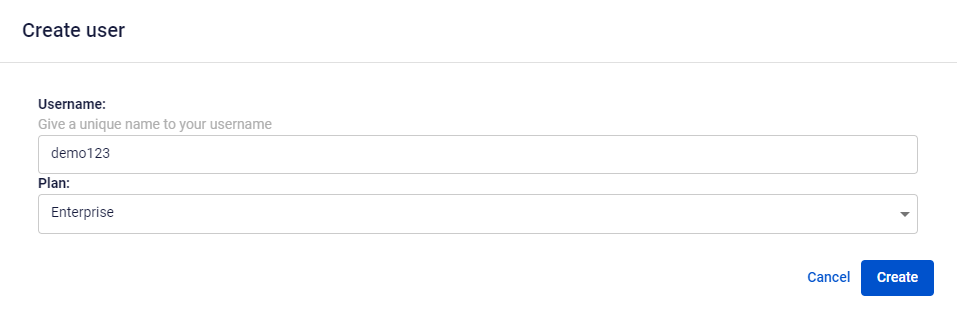
Here is a summarize of the specific configurations for each plan:
| Plan | Description | Number of Sites | Number of APIs | Number of Products |
| Pilot | Users utilize default sites and products without the ability to create additional sites and products. | 1 | 2 | 1 |
| Normal | Users utilize default sites and products without the ability to create additional sites. | 1 | Unlimited | 1 |
| Enterprise | Users have the capability to create their own sites and products. | Unlimited | Unlimited | Unlimited |
Step 3: Click Create. The system will initialize the service and provide processing status notifications.
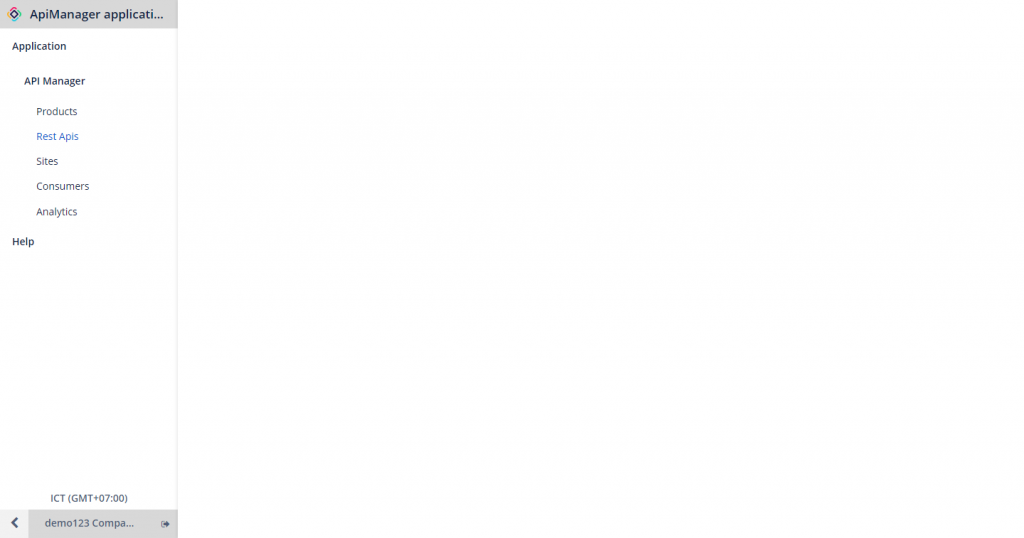
After a successful initialization of the account, users will be automatically redirected to the ApiManager Application administration page:
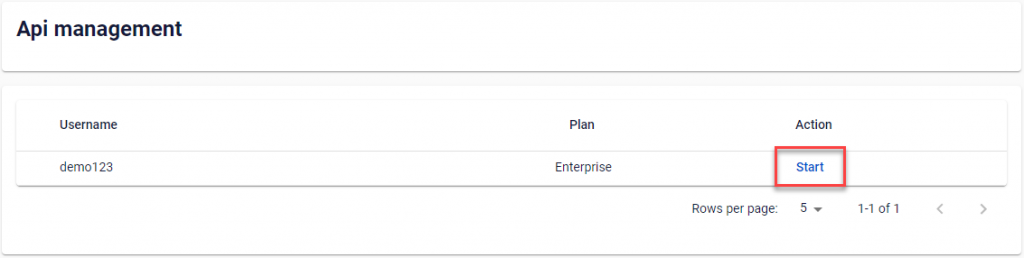
Alternatively, to access the ApiManager Application administration page, you can navigate to the API Management page and click Start on the instance you would like to access.
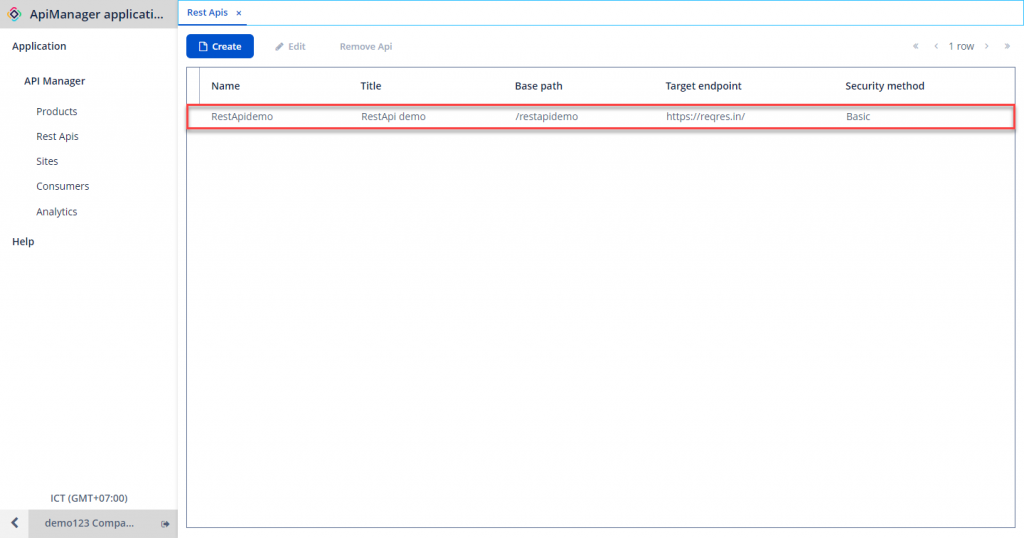
2. Creating a REST API
After a successful registration of the service, every API Management configuration will be executed entirely within the ApiManager Application. You need to declare the APIs that require management within the system for centralized administration.
Step 1: From the application menu, navigate to Application > API Manager > Rest APIs. Click Create.

Step 2: Enter the required information:
-
Name: API Name.
-
Title: Title for the API.
-
Base Path: The path that clients will send requests to after the API is published.
-
Target Endpoint: Endpoint of the currently available API provided to customers.
-
Target Security: Authentication information for the API.
-
Security Method: Authentication method when clients use this API. Currently, there are three methods available: Basic Authentication, OAuth, and API Key.
Note: The security method cannot be changed after creation, so please be cautious when declaring this information.

Step 3: Click OK to initialize the REST API.
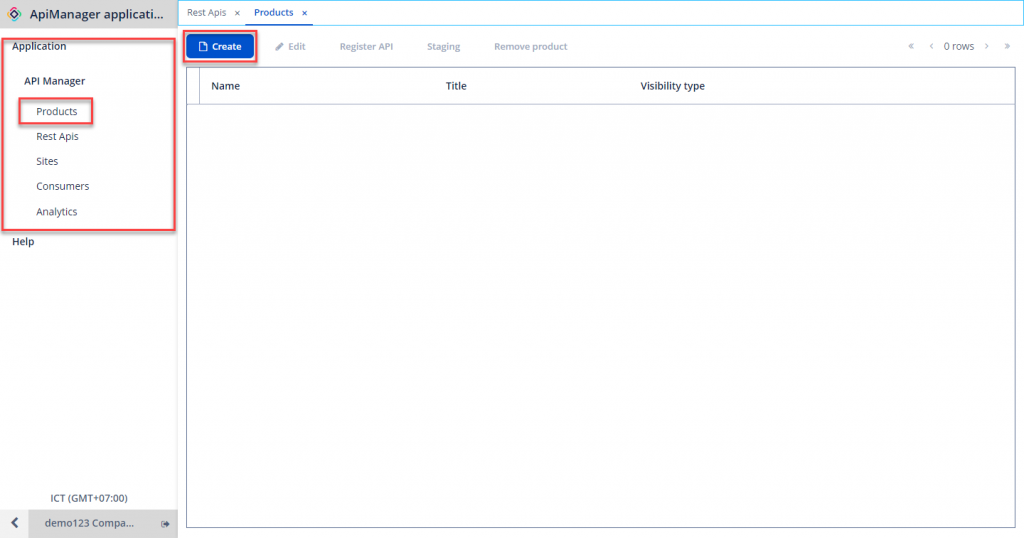
3. Creating a Product
A Product is an entity used to group multiple APIs together (due to shared usage purposes, shared clients, etc.). Instead of configuring each API separately, you only need to configure a single Product.
Step 1: From the menu, navigate to Application > API Manager > Products. Click Create.
Step 2: Enter the required information:
-
Name: Product name.
-
Title: Title for the Product.
-
Visibility Type: Product display mode. Options available are Public or Closed.
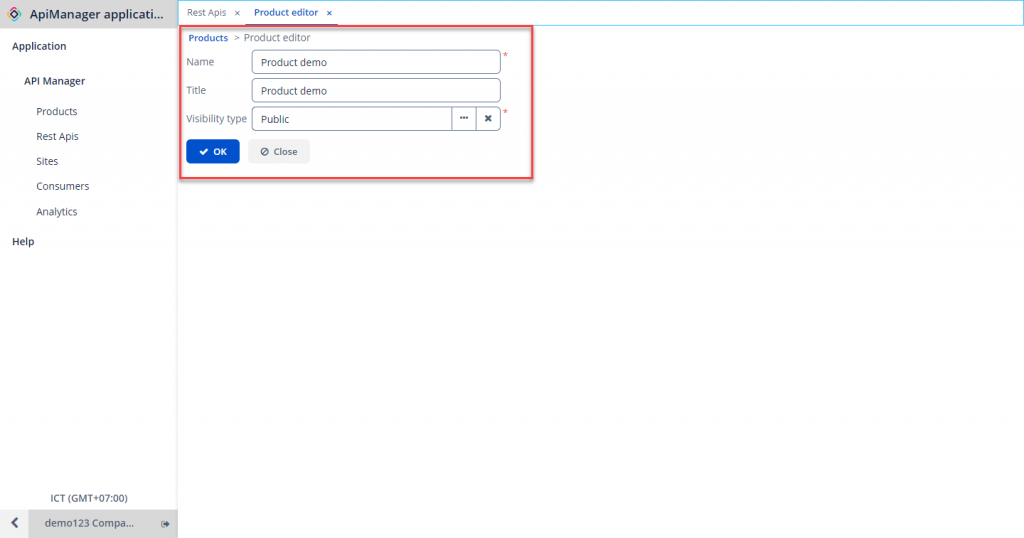
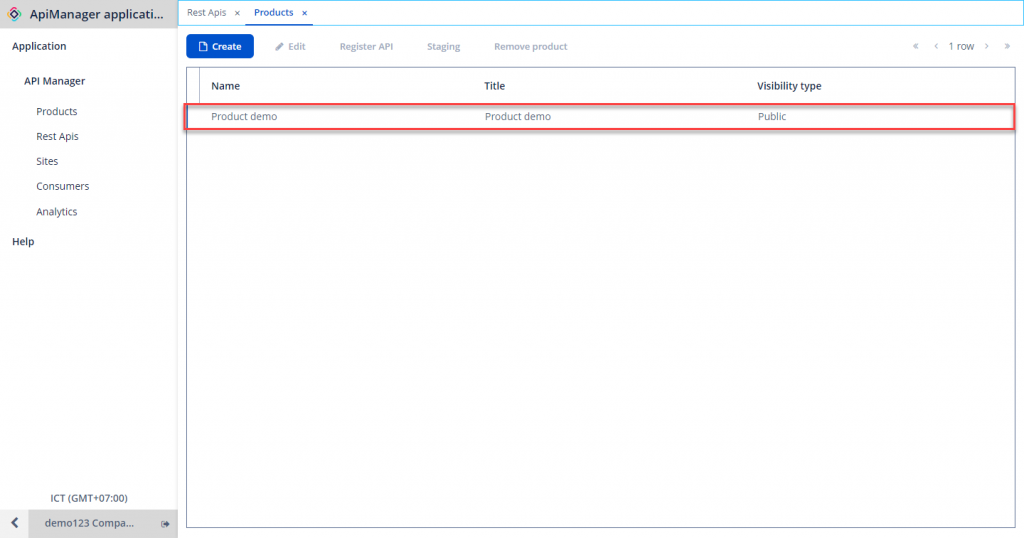
Step 3: Click OK to create the Product.
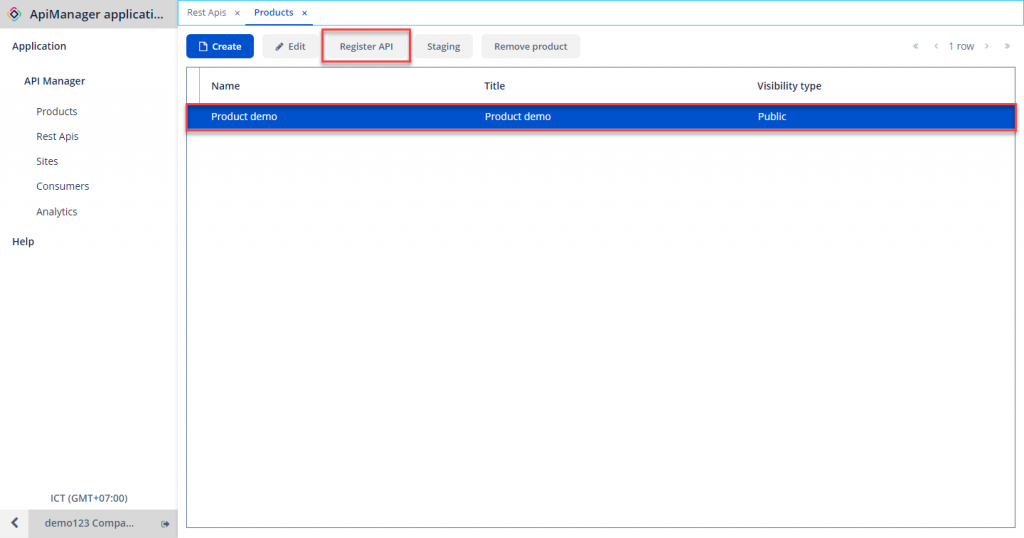
4. Attach APIs to a Product
To attach an API to a Product, follow these steps:
Step 1: In Product Management, select the Product to which you want to attach an API. Click Register API.
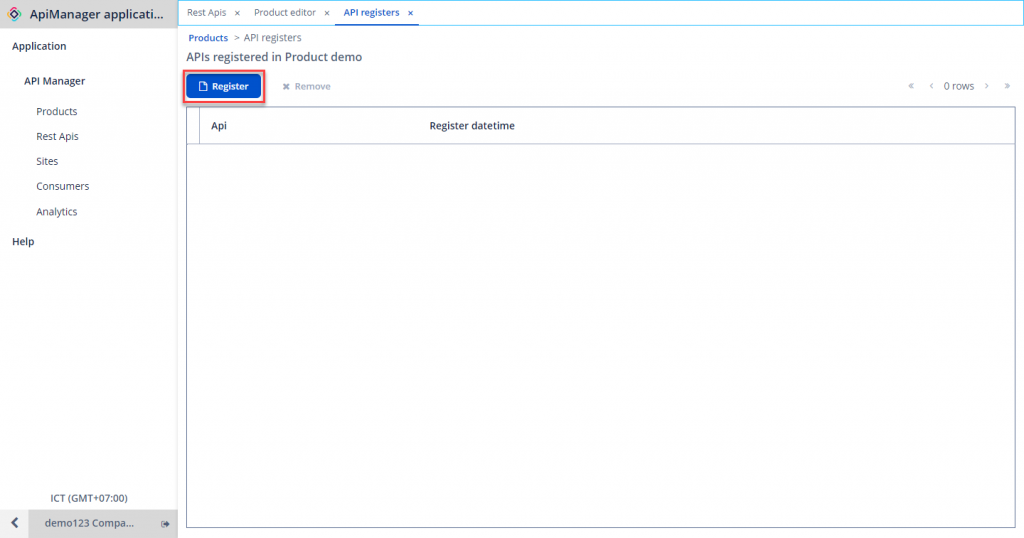
Step 2: Click Register.
Step 3: Choose the API to assign to the Product and click Select.
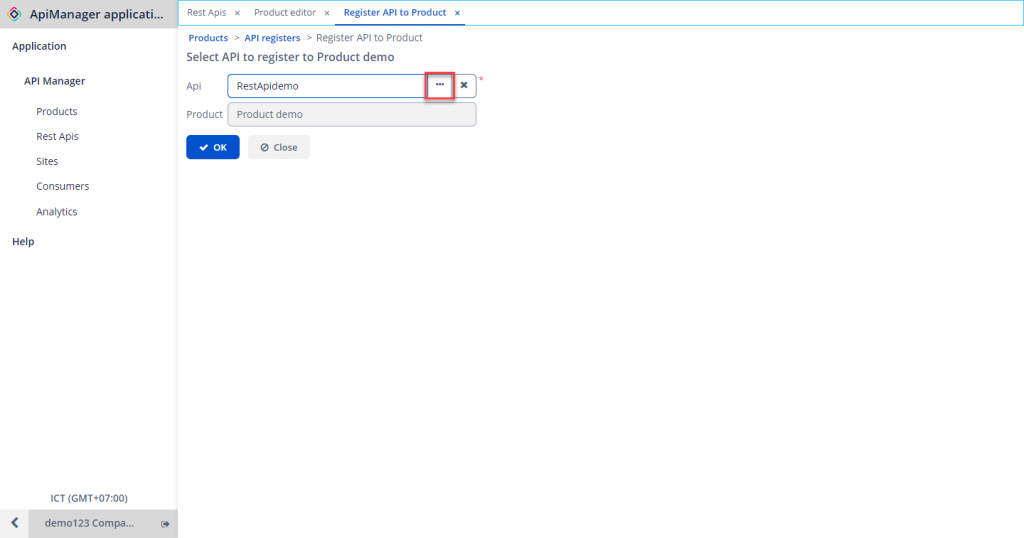
Step 4: Click OK to save.

Note:
-
Products and APIs are linked in a Many-to-Many relationship. Therefore, a Product can be associated with multiple APIs, and an API can simultaneously attached to multiple Products.
-
Products will determine how grouped APIs within the product are published to specific consumer types.
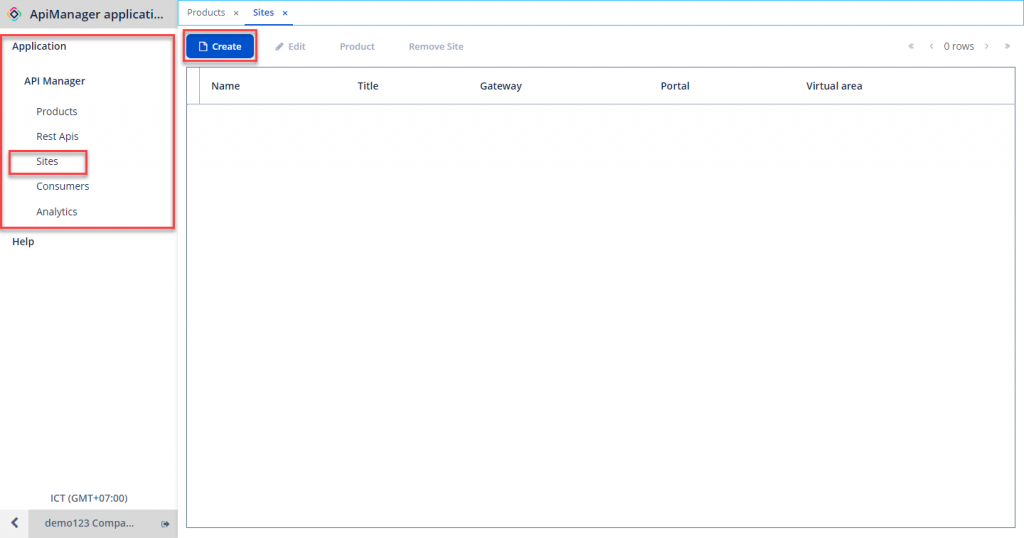
5. Creating a Site
A Site is an entity used to map products to a portal.
If you're using the Pilot or Normal package, a default site is provided and additional sites cannot be created. If you need extra sites, consider upgrading to a higher-tier package.
Step 1: From the menu, navigate to Application > API Manager > Sites, then click Create.
Step 2: Enter the required information:
-
Name: Site name.
-
Title: Title for the Site.
-
Production Mode: Enable or disable
-
Virtual Area: Choose an area from the pre-declared list by the admin.
-
Gateway: Choose a gateway from the pre-declared list by the admin.
-
Portal: Choose a Portal from the pre-declared list by the admin.
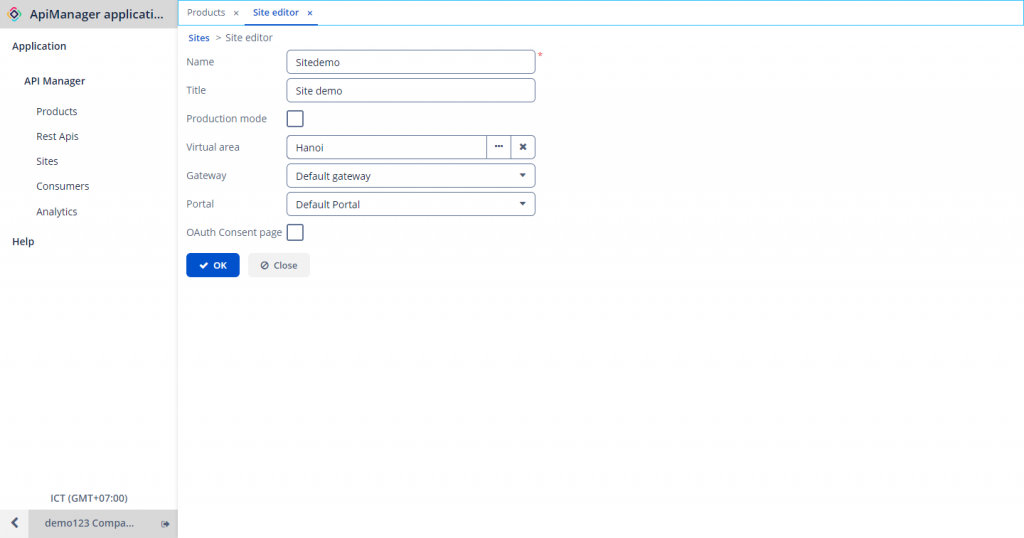
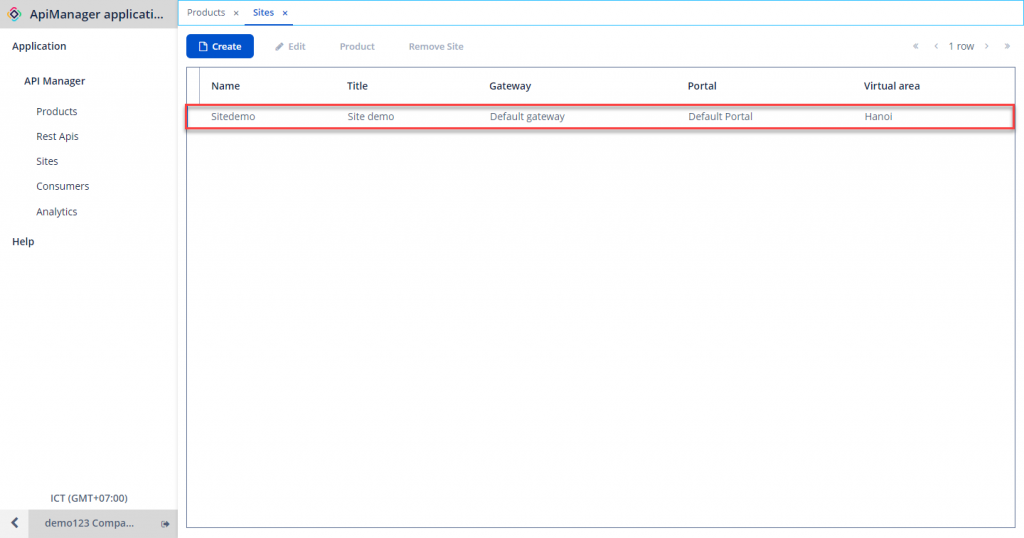
Step 3: Click OK to create the Site.
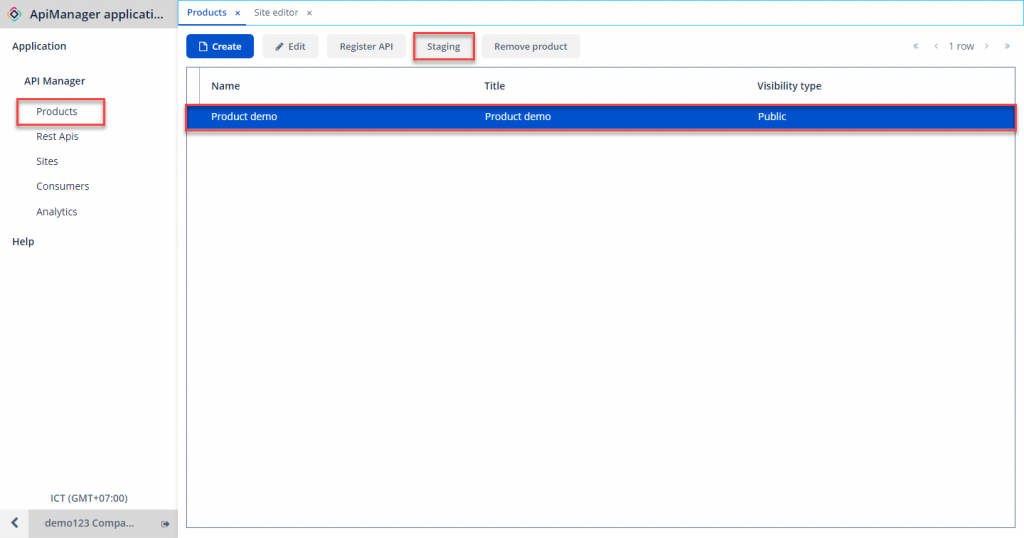
6. Staging Product
Once you have your Products and Sites, to begin using them, you need to stage (place) the product into the corresponding site.
To assign a product to a site, follow these steps:
Step 1: In Product Management, select the Product to be published to the Site > Staging.
Step 2: Click Staging to New site.
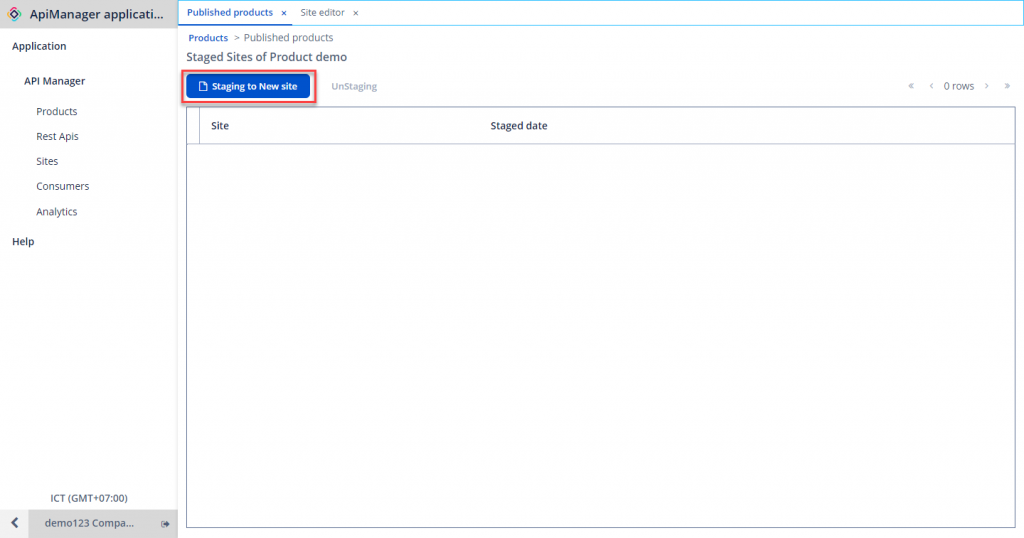
Step 3: Enter the required information:
-
Product: Product to be assigned to the Site.
-
Site to publish: Choose a previously created Site.
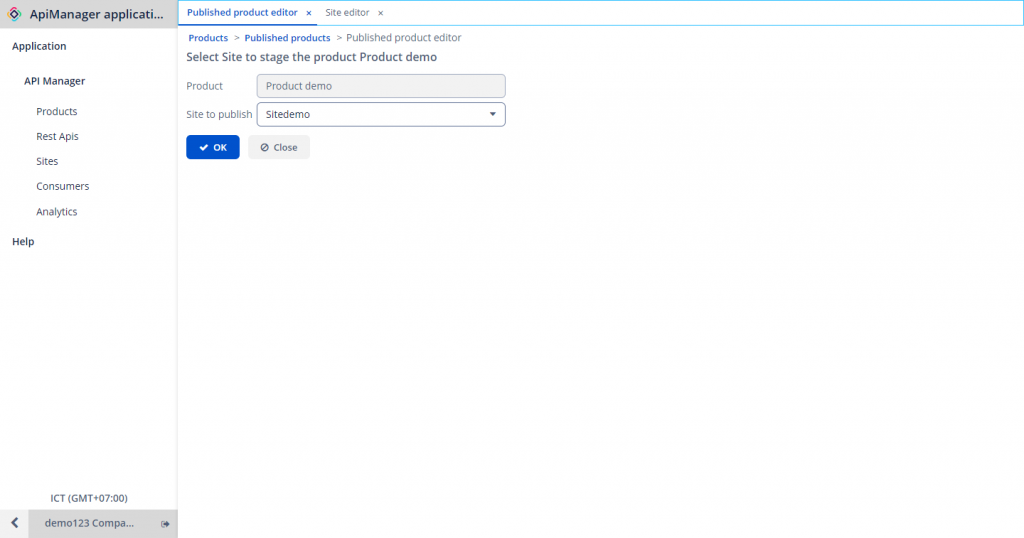
Step 4: Click OK.

Note:
-
Products and Sites are linked in a Many-to-Many relationship. Therefore, a Site can be associated with multiple Products, and a Product can simultaneously attached to multiple Sites.
-
The Site will determine which product is displayed on that site (and the APIs within that product).
7. Publishing Product
After staging a product to a site, the product remains in a private state. At this point, consumers can not use the APIs within that product yet. You need to publish the product for consumers to access them.
To publish a Product, follow these steps:
Step 1: In the API Manager menu, click Sites.
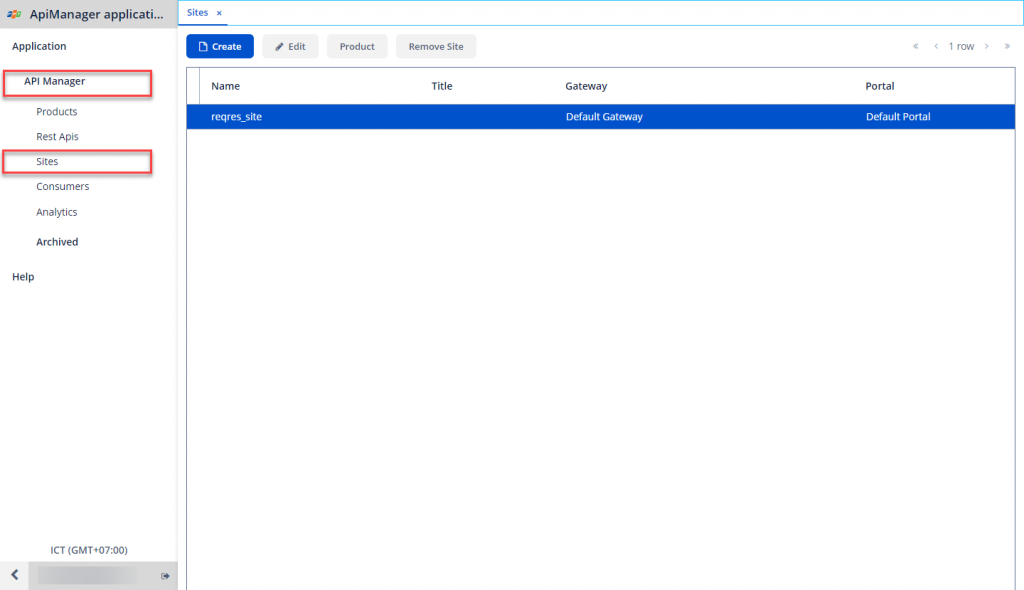
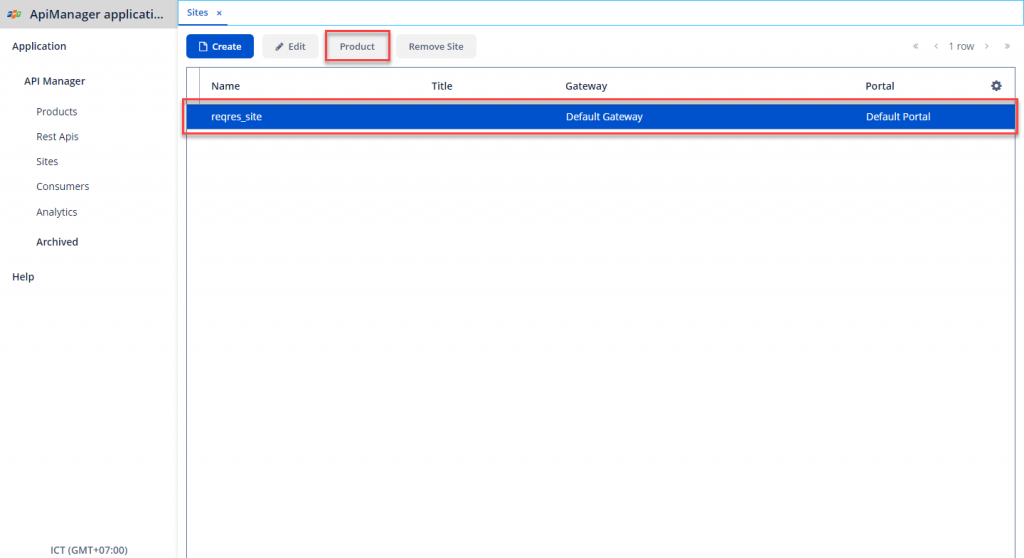
Step 2: Choose the Site containing the Product to be Published > click Product.
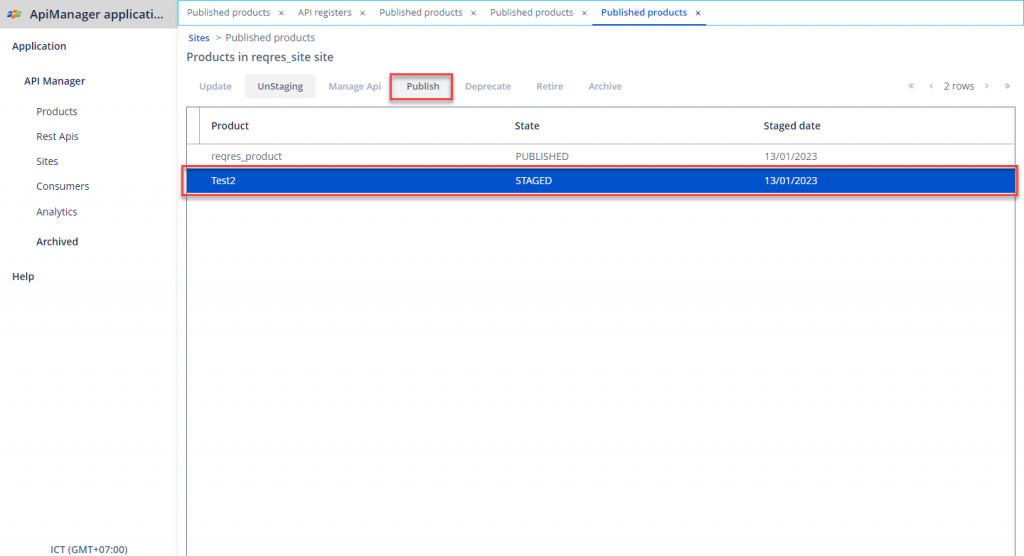
Step 3: Choose the Product to be Published > click Publish.
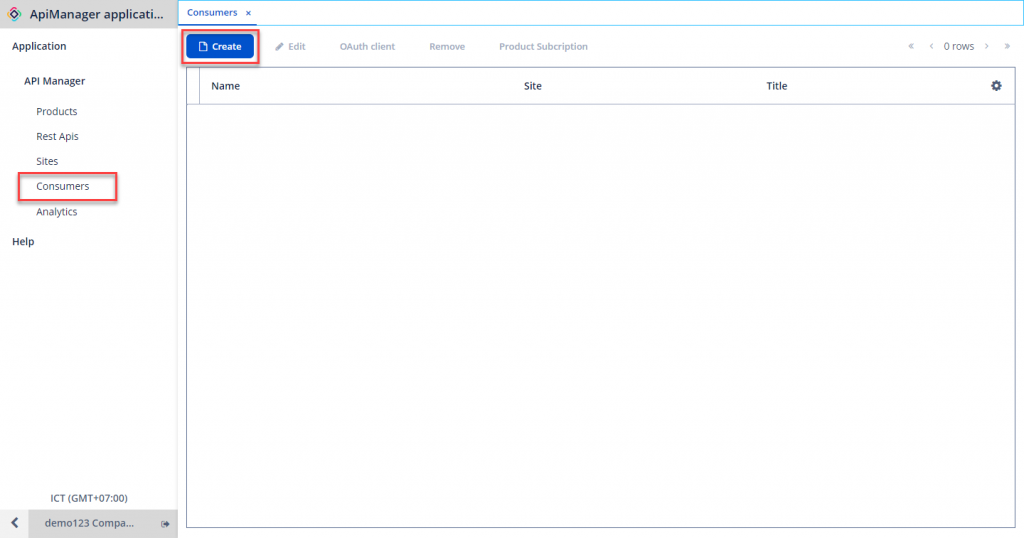
8. Creating new Consumers
Consumers are end-users utilizing the API, with permission to use the APIs declared in authorized Products.
To create a Consumer, follow these steps:
Step 1: In the API Manager menu, select Consumers > Create.
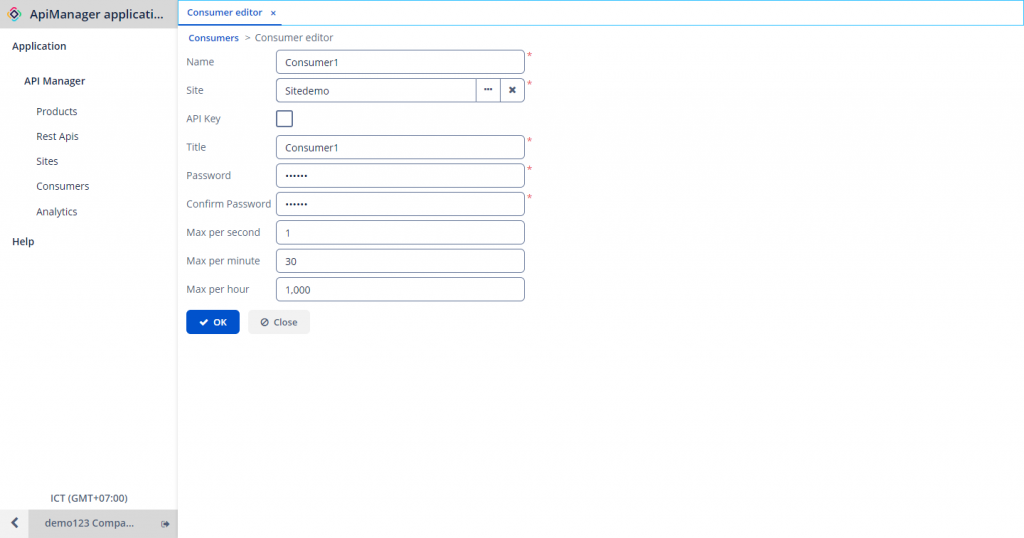
Step 2: Enter the required information:
-
Name: Consumer name.
-
Site: Select an active Consumer site.
-
API Key: Allow authenticate with an API key when enabled.
-
Title: Title for the consumer.
-
Password: Password if using Basic Authentication.
-
Confirm Password: Password confirmation.
-
Max per second: Limits the number of API calls the client can make per second.
-
Max per minute: Limits the number of API calls the client can make per minute.
-
Max per hour: Limits the number of API calls the client can make per hour.
Note:
-
Both API Key and Password can be declared and used simultaneously.
-
The Consumer's authentication method must align with the API being used. For example, if your API uses Basic authentication, the Consumer's authentication method must also be Basic. If one consumer needs to access multiple APIs with different authentication methods, declare all the authentication methods for that Consumer. Then, based on API usage, select the appropriate authentication method.
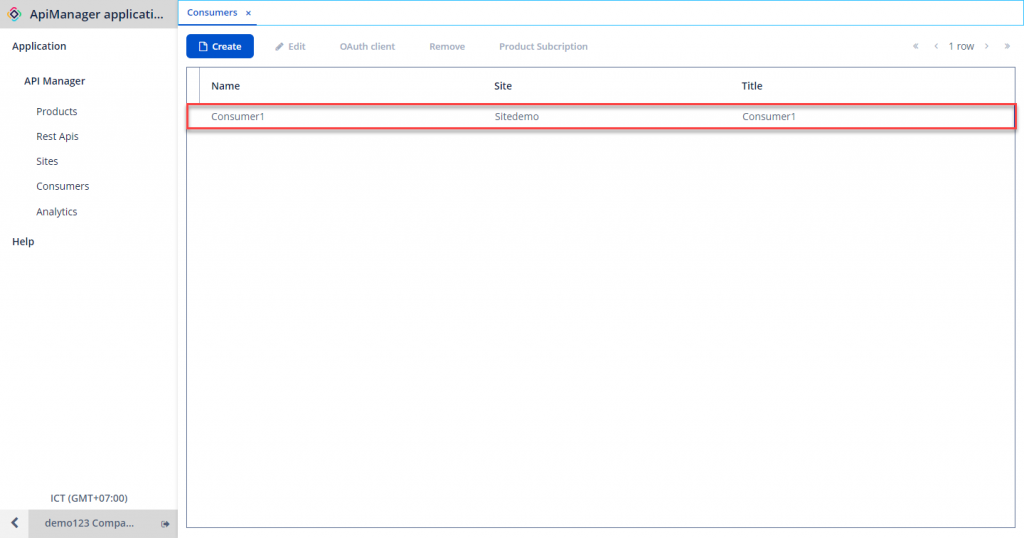
Step 3: Click OK to create.
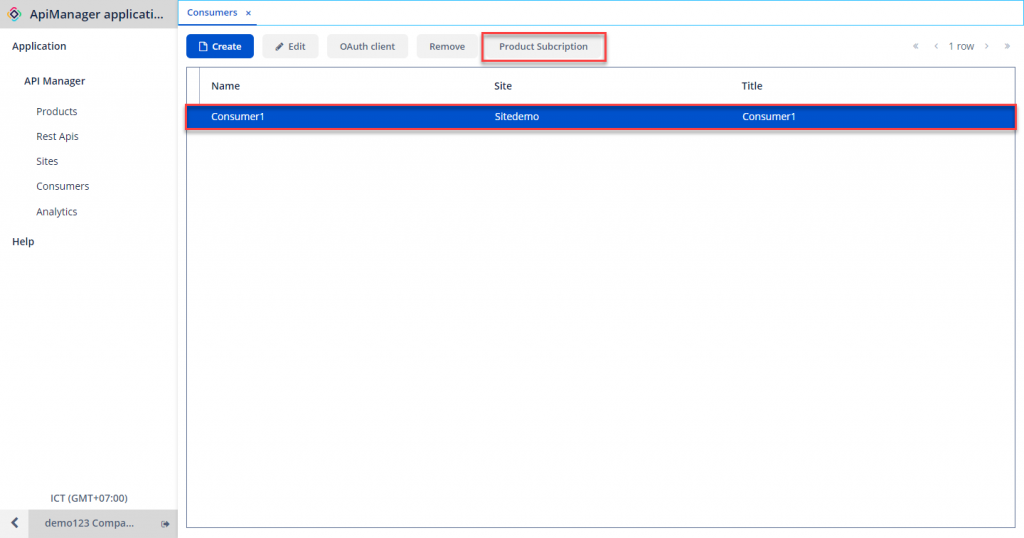
9. Subscribe to a Product
Once the Consumer is created, to use the APIs within a Product, the Consumer must subscribe to the Product.
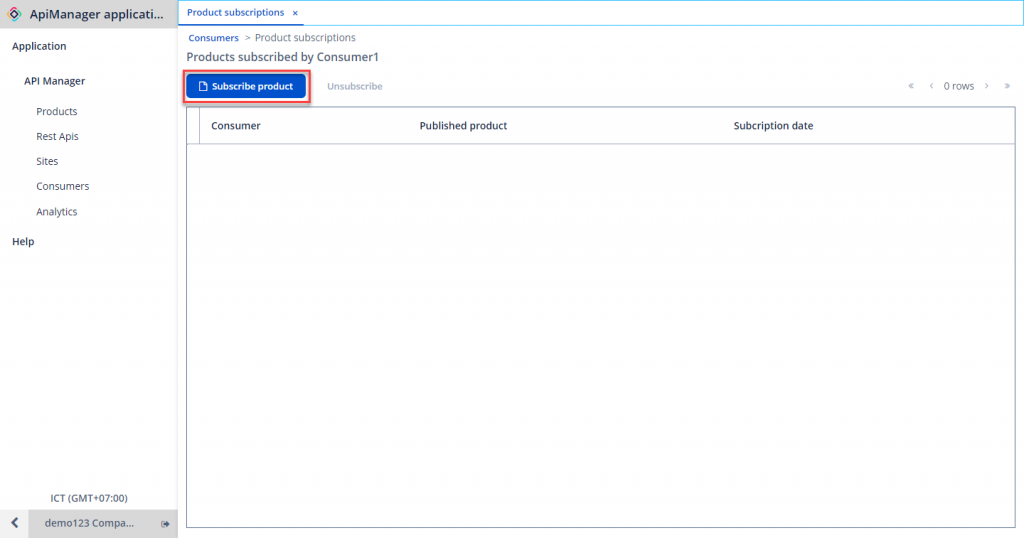
Step 1: In Consumer Management, select the Consumer and click Product Subscription.
Step 2: Click Subscribe Product.
Step 3: Select the Product. The Product must be in a published state to select it in the subscription interface.
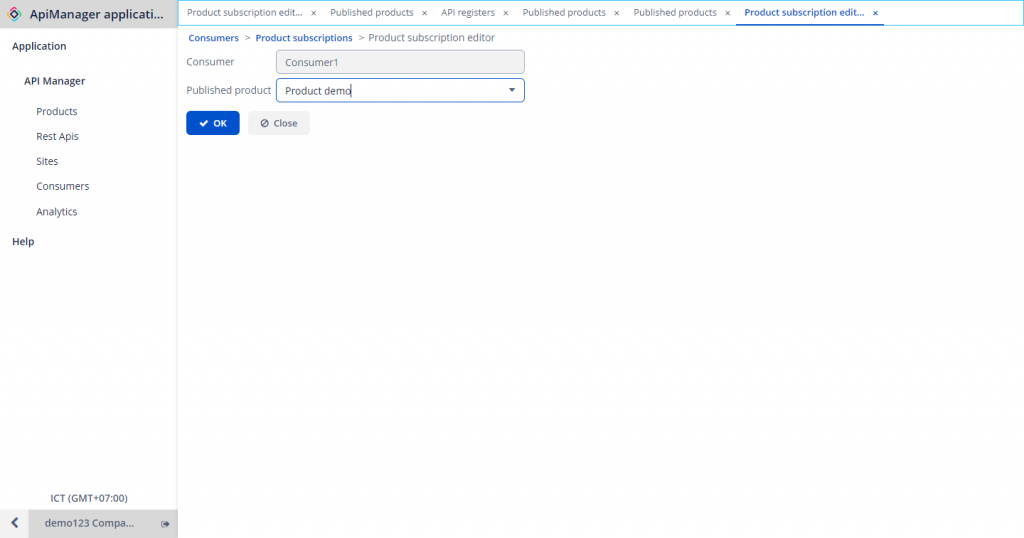
Step 4: Click OK.
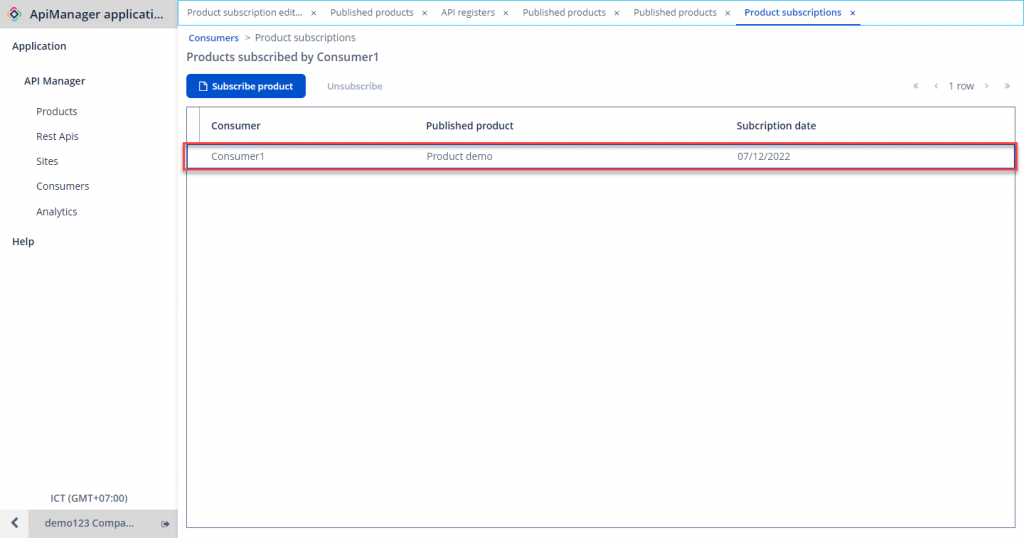
The client can now use the APIs provided by the API Provider.
10. Receive Information from the API Provider
To begin using the APIs, clients will need to acquire the following information:
-
API Endpoint: Provided according to the Get Product Endpoint instructions.
-
Authorization: Consumer's authentication method. Currently supporting Basic or API Key.
-
If the Authorization type is Basic:
-
Username: Username follows this structure:
Username = UsernameProvider + site name + usernameConsumer.For example:
demo123.sitedemo.demoaccOr as provided in the Consumer's authentication information.
-
Password: Password of the user declared during Consumer creation.
-
-
If the Authorization type is API Key:
-
Key: The API Key.
-
Value: Provided according to the instructions in the
-
-
11. Using Postman
Once all necessary information is acquired, clients can use Postman to start utilizing APIs provided by API Management.
Step 1: Enter the endpoint and select the API call method.
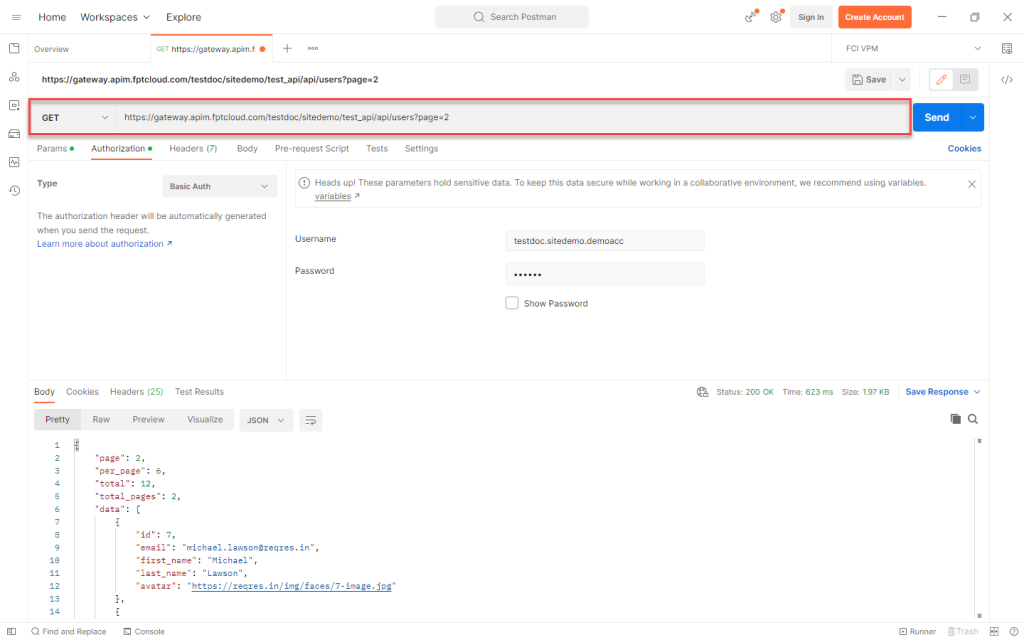
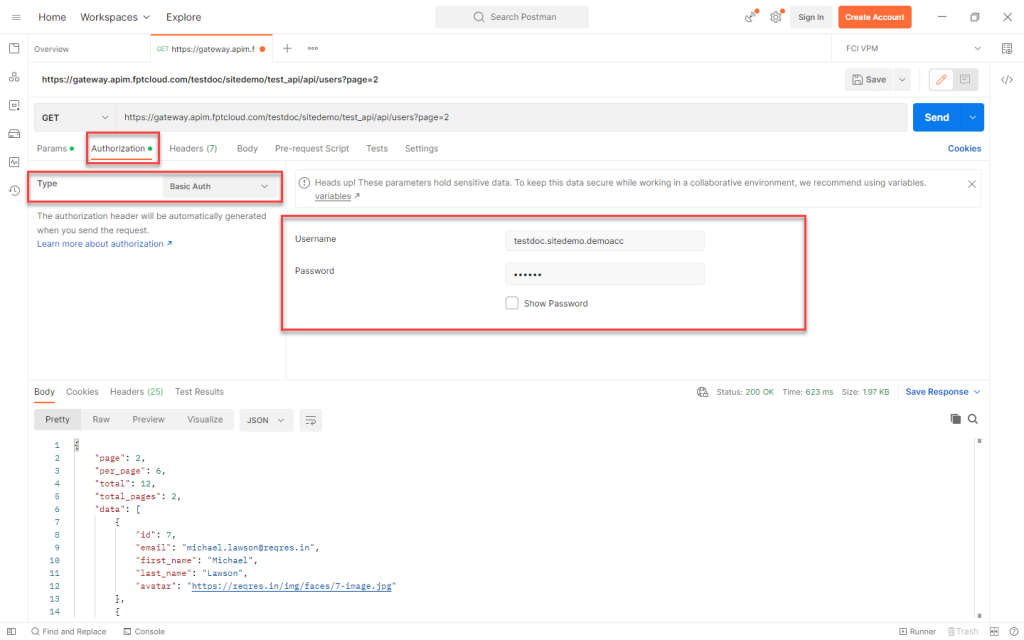
Step 2: Enter Authorization Information:
-
Select Basic Auth and enter Username/Password if Authorization is Basic.
-
Select API Key and enter the key if Authorization is API Key.
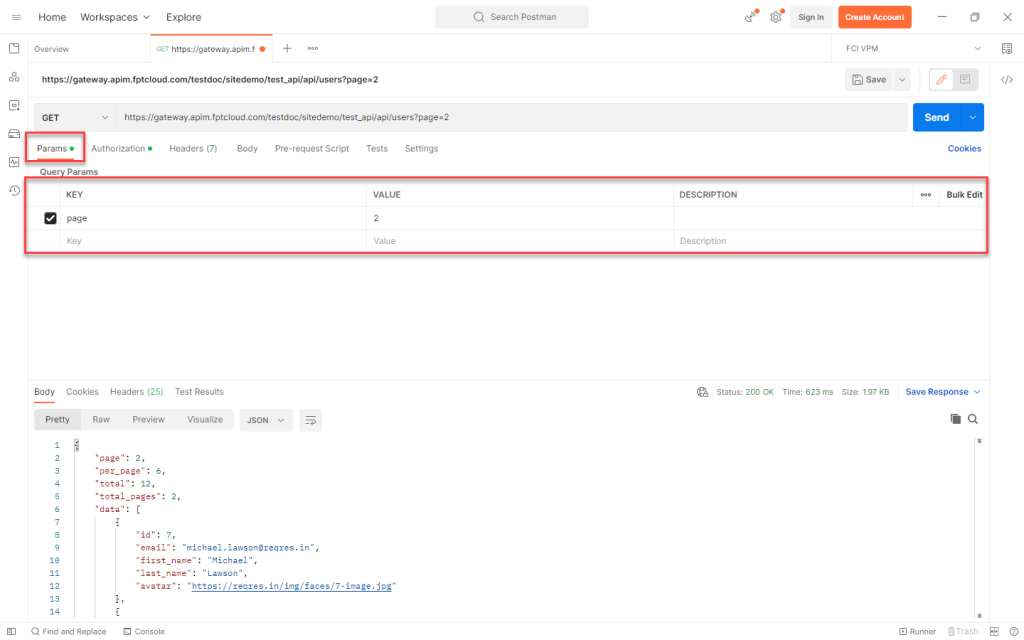
Step 3: Enter any request body, or additional parameters for calling the API, and click Send.
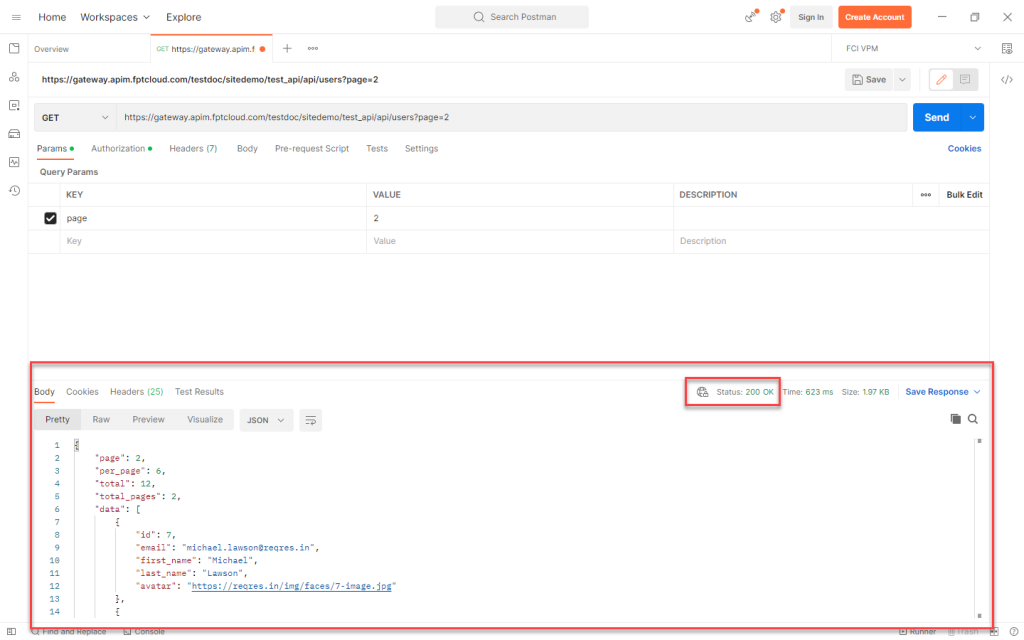
Step 4: Receive the response:
-
Status code 2xx: Successful API call.
-
Status code 4xx – 5xx: Error – report to FCI for assistance.
Note: The error checklist should be checked sequentially as follows:
-
Check username, password.
-
Report to API Provider to verify client permissions with the API.
-
Check if the API has been correctly declared, any missing headers or parameters?
-
Check if the API has an error?
-
Report to FCI to verify the gateway.