- About Us
-
 Secure, unlimited storage to ensures efficiency as well as high and continuous data access demand.
 Virtual server integration for 3D Rendering, AI or ML
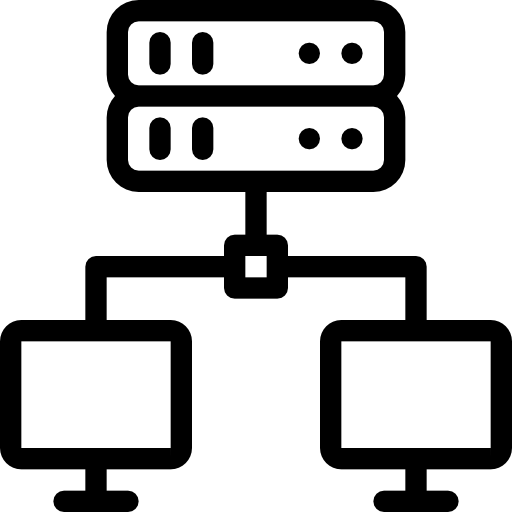
 Enhance application capacity and availability.
 Access to an all-inclusive stack for AI development, driven by NVIDIA’s powerful technology!
 FPT Web Application Firewall provides powerful protection for web applications
 Advanced virtual server with rapid scalability
 Backup and restore data instantly, securely and maintain data integrity.
Advanced virtual server with rapid scalability
Access to an all-inclusive stack for AI development, driven by NVIDIA’s powerful technology!
Enhance application capacity and availability.
Backup and restore data instantly, securely and maintain data integrity.
Recovery, ensuring quick operation for the business after all incidents and disasters.
Backup and restore data instantly, securely and maintain data integrity.
Advanced virtual server with rapid scalability
Access to an all-inclusive stack for AI development, driven by NVIDIA’s powerful technology!
Enhance application capacity and availability.
Backup and restore data instantly, securely and maintain data integrity.
Recovery, ensuring quick operation for the business after all incidents and disasters.
 Diverse throughput and capacity to meet various business workloads.
Secure, unlimited storage to ensures efficiency as well as high and continuous data access demand.
FPT Web Application Firewall provides powerful protection for web applications
Intelligent and Comprehensive Virtual Web Application Firewall - Security Collaboration between FPT Cloud and Penta Security.
The Next generation firewall security service
Easily store, manage, deploy, and secure Container images
Safe, secure, stable, high-performance Kubernetes platform
Provided as a service to deploy, monitor, backup, restore, and scale MongoDB databases on cloud.
Provided as a service to deploy, monitor, backup, restore, and scale Redis databases on cloud.
Provided as a service to deploy, monitor, backup, restore, and scale PostgreSQL databases on cloud. System Monitoring Solution anywhere, anytime, anyplatform
 Helps reduce operational costs by up to 40% compared to traditional BI solutions, while improving efficiency through optimized resource usage and infrastructure scaling.
 - Pricing
- Partner
- Event


Sign up for an Account
Step 1: Create an FPT Cloud account
-
Go to https://fptcloud.com/, click Sign Up, and follow the system instructions to enter your details.
-
Our support team will contact you shortly to verify your information and activate your account.
Step 2: Log in to the FPT Portal
-
Go to https://console.fptcloud.com or https://console.fptcloud.jp and sign in with your FPT Cloud account and password, depending on where your quota has been provisioned. Make sure to select the correct Tenant and Region.
-
Set up an SSH key: Navigate to SSH Management to generate an SSH key. This key will be used for secure access to your servers.
Step-by-Step
Step 1: Create a Subnet
A subnet is required before deploying your GPU VM.
-
In the left-side menu, go to Network → Subnets.
-
Click Create Subnet and complete the configuration.
Follow the detailed guide here
Step 2: Create a GPU VM
-
In the side menu, go to Compute Engine → Instance Management.
-
Click Create Instance and configure the virtual machine deployment.
-
Choose the instance type: H100 instances are available on the .com site and H200 instances are available on the .jp site.
-
Select a disk type:
- Ephemeral Disk (NVMe): The storage disk is bundled with the instance and cannot be resized.
- Persistent Disk (Block Storage SSD): A storage disk is required, with a minimum size of 100 GB.
-
Follow the detailed guide here.
Step 3: Allocate a public IP address (Floating IP)
-
In the left-side menu, go to Network → Floating IPs.
-
Click Allocate IP Address and assign the IP to your VM.
- Ephemeral Disk (NVMe): Use port forwarding (NAT) to connect the floating IP with the VM. You’ll need to specify both the IP port and the Instance port.
Follow the detailed guide here.
Step 4: Create Security Group
By default, the Default Security Group allows all outbound traffic. You have to create a new one to allow inbound rules to access the VM.
-
Click on Network and select Security Groups in the side menu.
-
Choose Create Security Group in the Security Groups screen and define the inbound rules for VM (e.g., Allow SSH access on port 22 from your client’s public IP).
Follow the detailed guide here.
Step 5: Access to GPU Virtual Machine
After successfully creating the GPU VM, you can access the server via SSH:
-
Terminal: Open your terminal and enter the command with your SSH key.
-
Web Console: Go to the server’s detail page and click “Open at Console” to log in with a password through the web console.
💡 The default username is root.
Follow the detailed guide here.