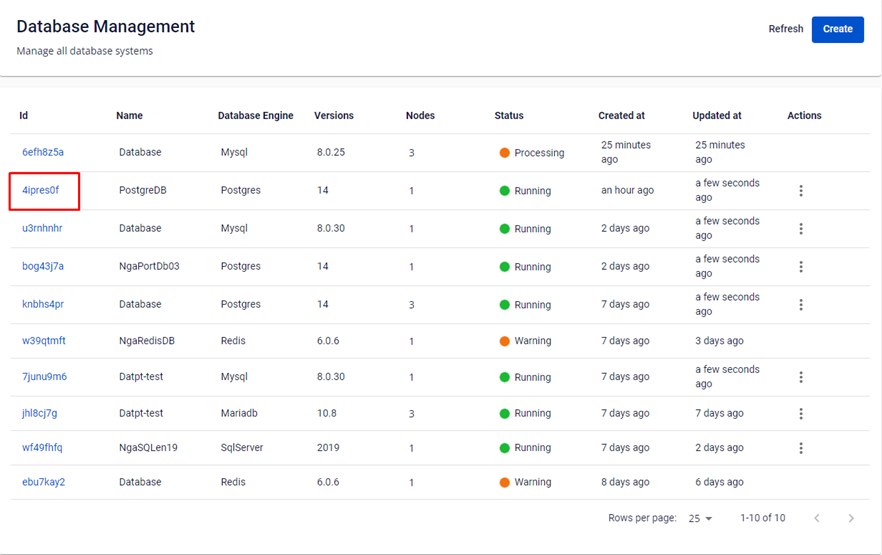
Step 1: Choose Database Engine > Select a Cluster ID > on Database Detail, select the Backups tab.
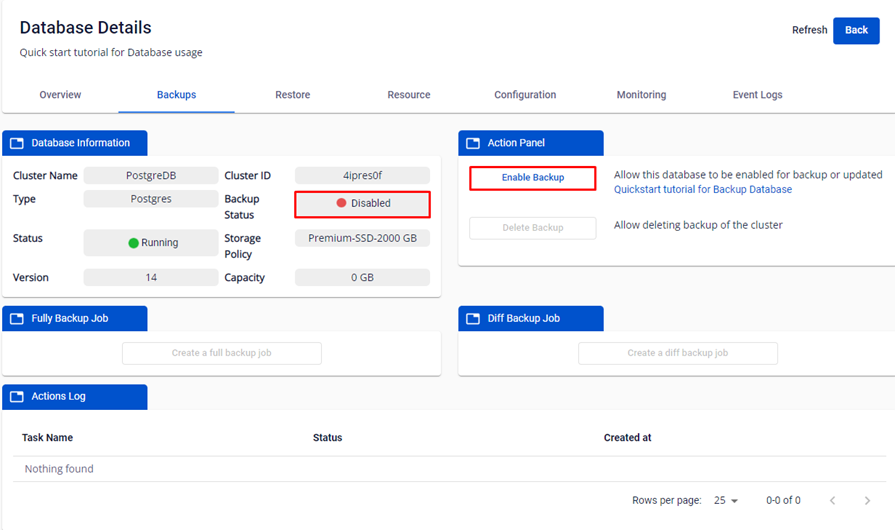
Step 2: Open the Backups tab after creating the Database cluster. The Backup service will be initially disabled, and users need to select Enable Backup.
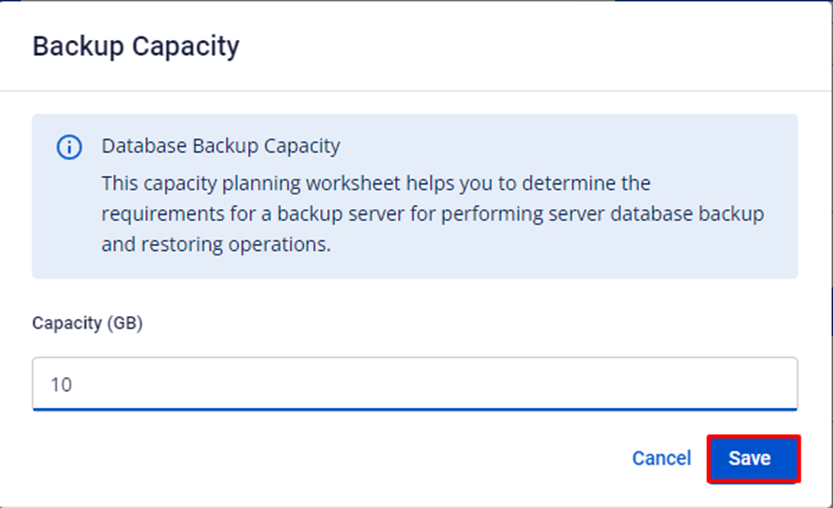
Step 3: The Backup Capacity screen appears; enter the Capacity and click Save.
Note:
Capacity cannot exceed the available storage capacity of the system. If exceeded, an error warning will be displayed, and the service cannot be enabled.
Step 4: Once the Backup Status is Enabled, users can start creating jobs.
Step 5.1: To create a Full Backup Job, select Create Full Backup Job.
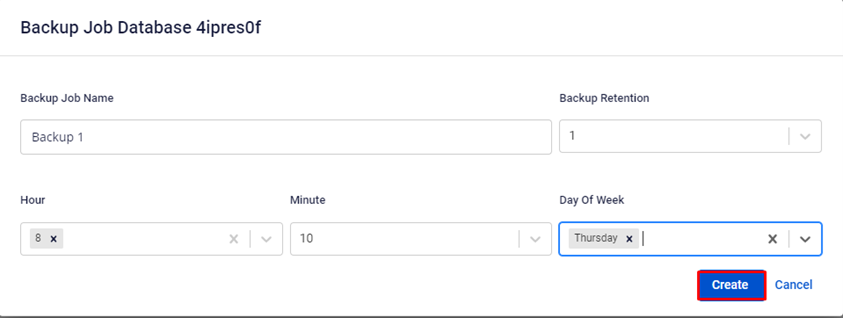
A Backup job Database with Database Cluster ID popup appears; enter information about the job schedule (allowing scheduling of full backup runs at specific hours and minutes on different days of the week) and click Create.

After successfully creating a full backup job with the Ready status, click Run Now to execute the job.
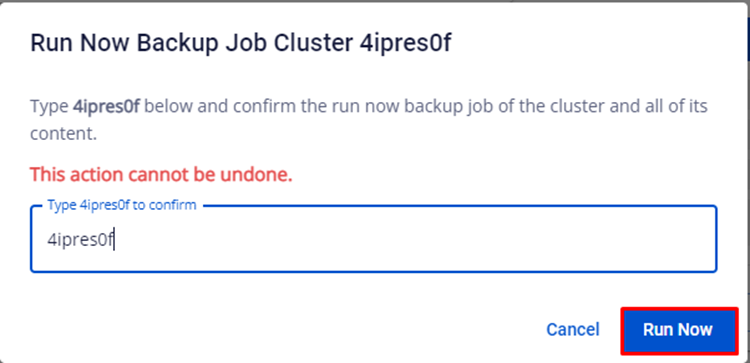
The system will display a popup Run Now Backup Job Cluster, where users enter the Cluster ID to confirm and click Run Now
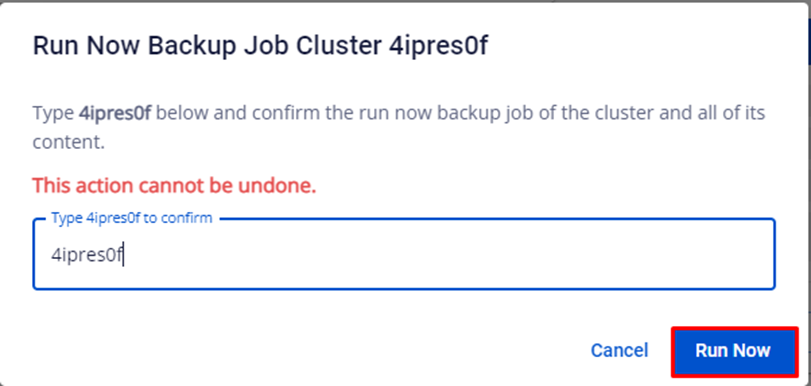
Information about a running backup job, whether successful or encountering errors, will be updated in the Action Log.
Step 5.2: To Create a Diff Backup Job, select Create A Diff Backup Job.
Note:
-
Incremental backup cannot be created without a full backup.
-
Each Cluster ID allows only one full backup. Users can edit the job runtime if changes are needed.
-
For clusters of Mongo, Redis, or SQL Server database type, Diff backup is not available.

A Backup Job Database with Database Cluster ID popup appears; enter information about the job schedule.
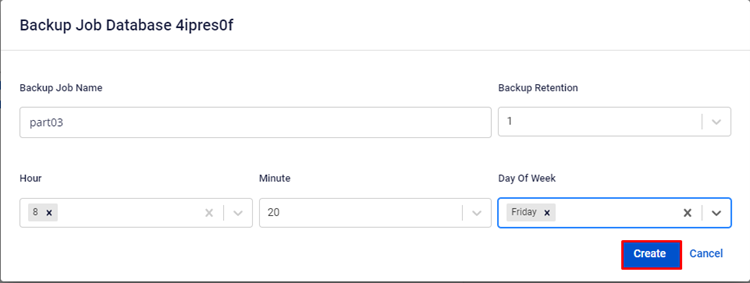
Click Create to create a Diff Backup Job. After successfully creating a Diff Backup Job with the Ready status, click Run Now to execute the job.
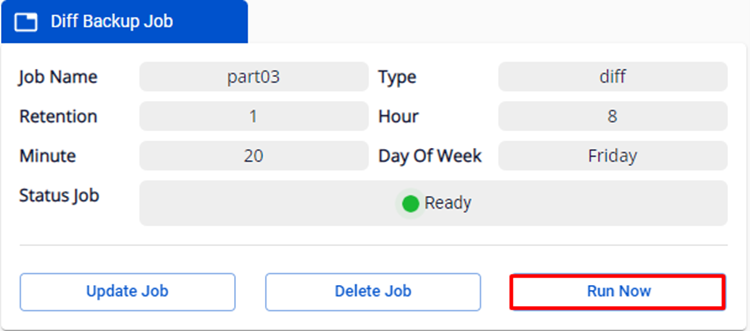
The system will display a popup Run Now Backup Job Cluster, where users enter the Cluster ID to confirm and click Run Now
